Setting up Raspberry Pi 3 with the 7″ Touchscreen Display
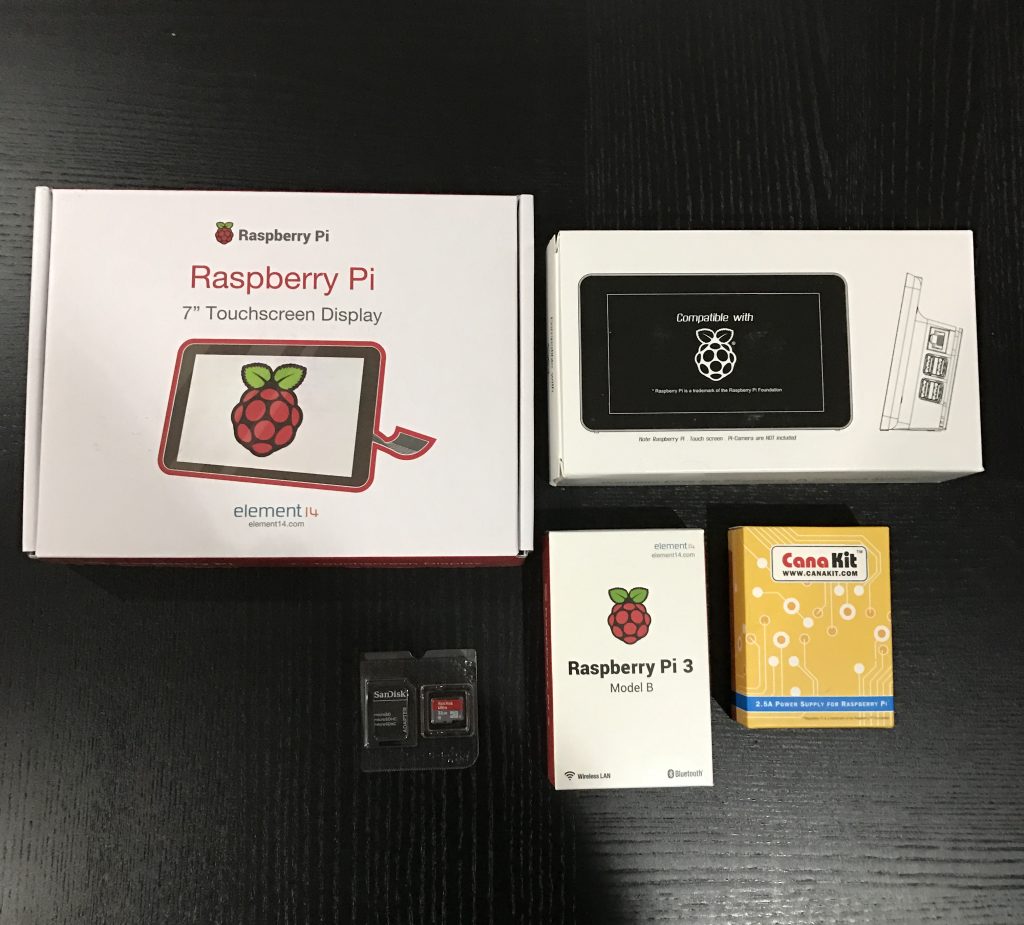
Today I received all the parts I need to begin setting up my own personal home dashboard. When I first began my career in programming, Home Automation was always something I’ve been very intrigued with; only it was very expensive and there weren’t many products out there to support it. Now, with the recent boom in IOT devices and products, its easier and far more cost effective to do this on your own.
Why am I doing this?
Apart from just tinkering and learning, It’s something to help my family and I organize our lives, control devices in our home and it’s just plain cool! Earlier this year, I purchased a SmartThings Hub and it’s been a lot of fun controlling my thermostat and door locks. I also have an Amazon Echo which is an amazing device as well! I have a lot of plans with this project, which I will document in future posts. So stay tuned! For now, lets start by setting up the hardware.
Prerequisites
Here are links to the products and prices I purchased on Amazon at the time. The prices might vary slightly if you purchase them.
- Raspberry Pi 7″ Touchscreen Display – $67.99
- RS Premium Touchscreen Case for Raspberry Pi and LCD Display 7-Inch – Black – $22.99
- SanDisk Ultra 32GB microSDHC – $10.99
- CanaKit 5V 2.5A Raspberry Pi 3 Power Supply – $9.99
- Raspberry Pi 3 Model B Motherboard – $35.99
Bringing the total cost of this setup to: $147.95 (including shipping)
- You’ll need a USB keyboard and mouse.
- HDMI cable. I connected my PI (after the OS install) to a 27in monitor I had laying around. You’ll need this temporarily. You can connect to a laptop or any other device that accepts HDMI. I used it just to make sure the OS installed properly before I connected the touchscreen to the Raspberry Pi.
- A computer with an SD card reader to install the image before inserting it into the Raspberry Pi.
Installing Raspbian Jessie on the SD Card
I decided to use the Raspbian Jessie with Pixel distribution for my setup. (There are many 3rd party images you could choose from also). For this example, we are using Jessie so you can download it here from the Raspberry Pi website by selecting “Download ZIP”. When the image file completes downloading, we are going to install the Raspberry Pi operating system image on an SD card. The image contained in the ZIP archive is over 4GB in size, which means that the archive may use features which are not supported by older unzip tools, on some operating systems. If you find that the download appears to be corrupt or the file is not unzipping correctly, please try using 7Zip (Windows) or The Unarchiver (Macintosh). Both are free of charge! In this setup, I am using a Mac. After the download completes, unzip the file you downloaded. Alright, here we go:
- Connect the SD card to your computer. Note that it must be formatted as FAT32. The one I purchased above was already formatted in FAT32.
- Open “Disk Utility”. To do this, click on the magnifying glass in the top-right corner of your computer screen. Type “disk utility” in the search box that opens, then click on the “Disk Utility” Application that comes up and click on “APPLE SD Card Reader Media”.
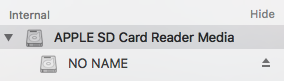
- Note the “Device:”; it will look something like disk(n) where (n) is a number (for example, disk1). Make sure you take a note of this number. Mine was disk1.
- Now, right click on “NO NAME” or “Untitled” on the left and select “Unmount” from the menu. This will unmount the partition so that you can write to the disk.
- Now open terminal and run the following command:
1sudo dd bs=1m if=(PATH_OF_THE_IMAGE_YOU_DOWNLOADED.img) of=/dev/rdisk(n)
Remember to replace (n) with the number that you noted before and (PATH_OF_THE_IMAGE_YOU_DOWNLOADED.img) to the path of the Raspbian Jessie image you downloaded. for example: my command was:
1sudo dd bs=1m if=2016-11-25-raspbian-jessie.img of=/dev/rdisk1The image file will be copied to the SD Card. You won’t get any feedback while it copies, and it can take several minutes. Leave terminal open and let it do its thing. When the copy is finished enter
1sudo diskutil eject /dev/disk(n)to eject the disk (again remembering to replace (n) with the number that you noted before). Remove the SD Card and insert it into your Raspberry Pi 3.
Booting Raspbian Jessie
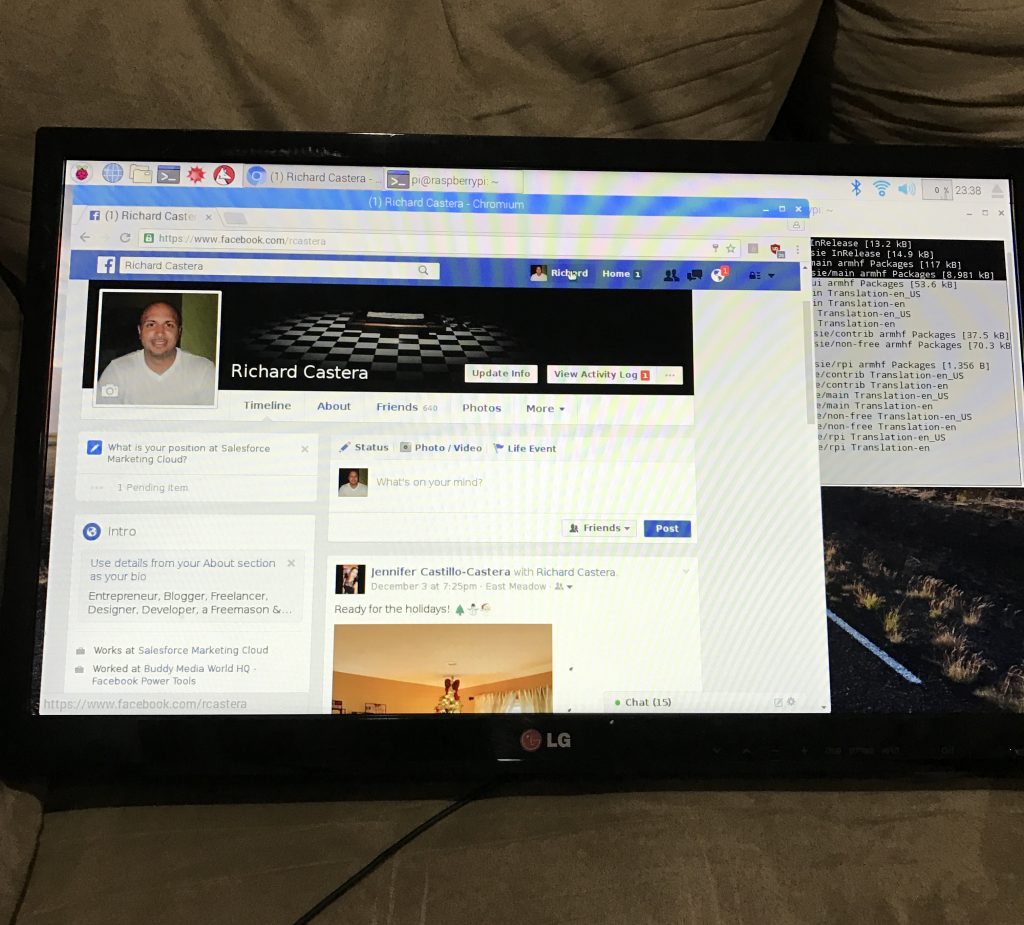
Ok so that wasn’t so bad. Now connect the Raspberry Pi to a monitor, plug in a USB keyboard and mouse and connect the power cord to the Raspberry Pi to boot it up. Here’s how mine looks connected to my monitor. That was quite exciting!
Before we install the screen, let’s make sure we have the latest and greatest. The last 2 commands update the UI. Open up terminal and run the following commands on your Raspberry Pi:
|
1 2 3 4 5 |
sudo apt-get update sudo apt-get upgrade sudo apt-get dist-upgrade sudo apt-get install raspberrypi-ui-mods sudo apt-get install raspberrypi-net-mods |
Connecting the Touchscreen to the Raspberry Pi
- Power down the Raspberry Pi and disconnect the power cable, USB keyboard and mouse.
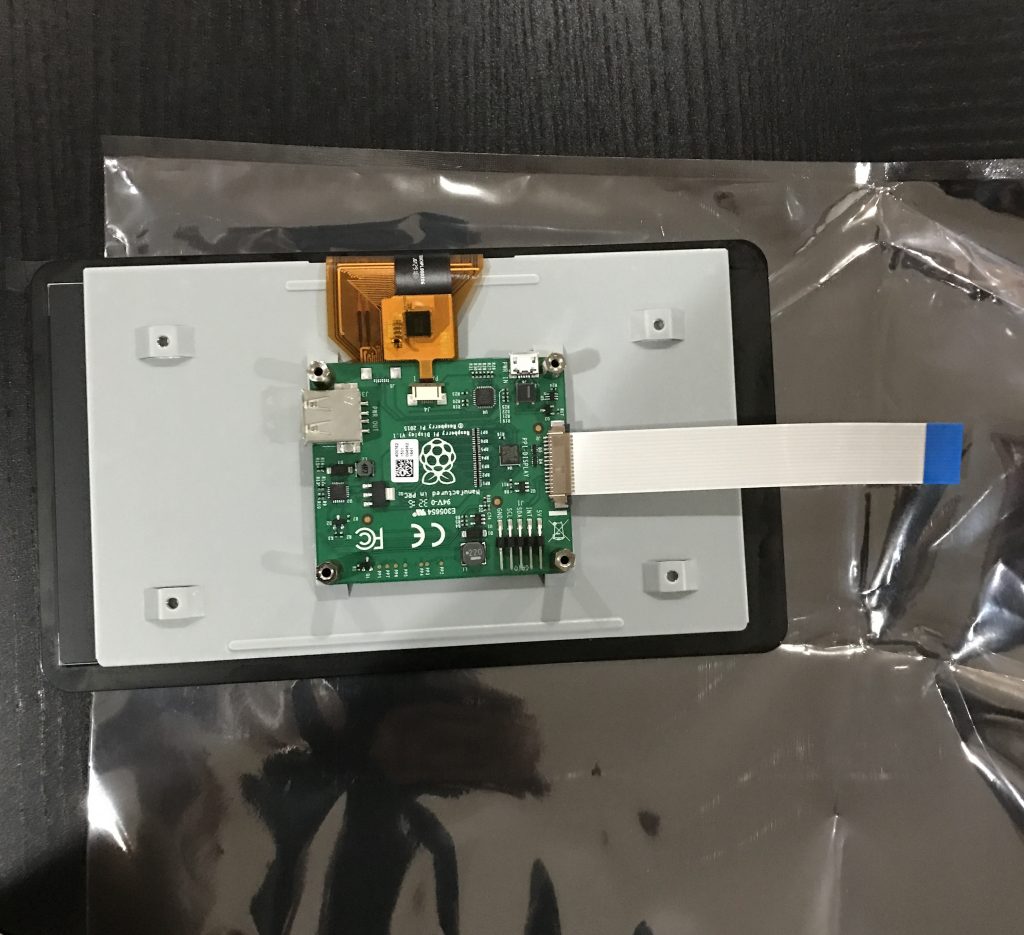
- Unpack the touchscreen from the static bag and place it on top of the static bag so that the screen is face down. (don’t remove the protection on the screen)
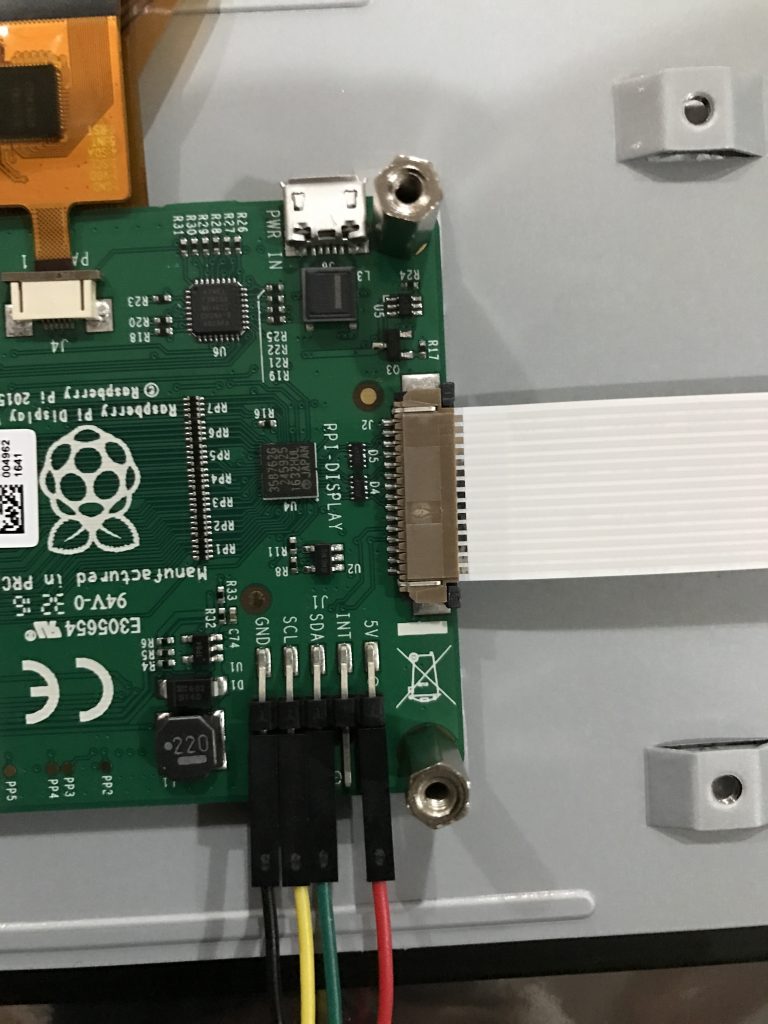
- Take the white ribbon cable (supplied) and connect it to the connector on the board, with the blue mark on one end facing up towards the back of the screen like shown below. I had a tough time getting it in there so take your time. You don’t want to damage it.
- Next, connect the four jumper wires to the display driver board. Here I am using Black for GND, Yellow for SCL, Green for SDA and Red for 5V.
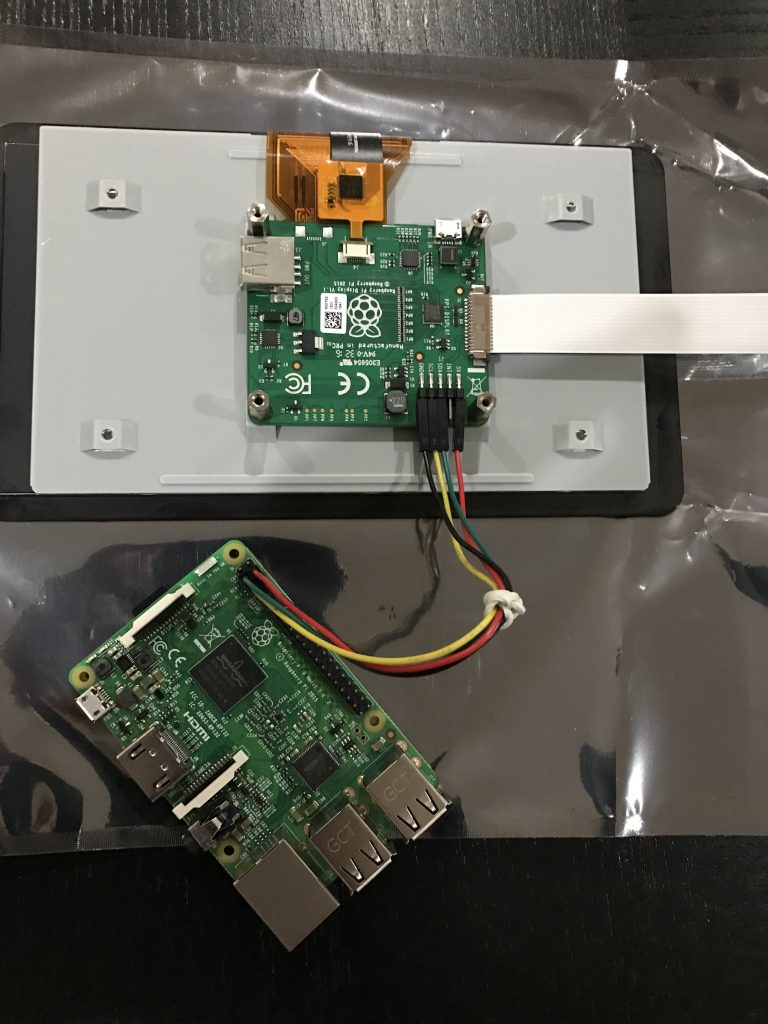
- Now, we’re going to connect the other end of the jumper wires to the Raspberry Pi.
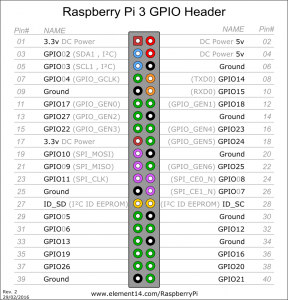
You can see the schematic for the Raspberry Pi 3 below
- After you’ve done that, mount the Raspberry pi onto the four spacers with the screws (provided).

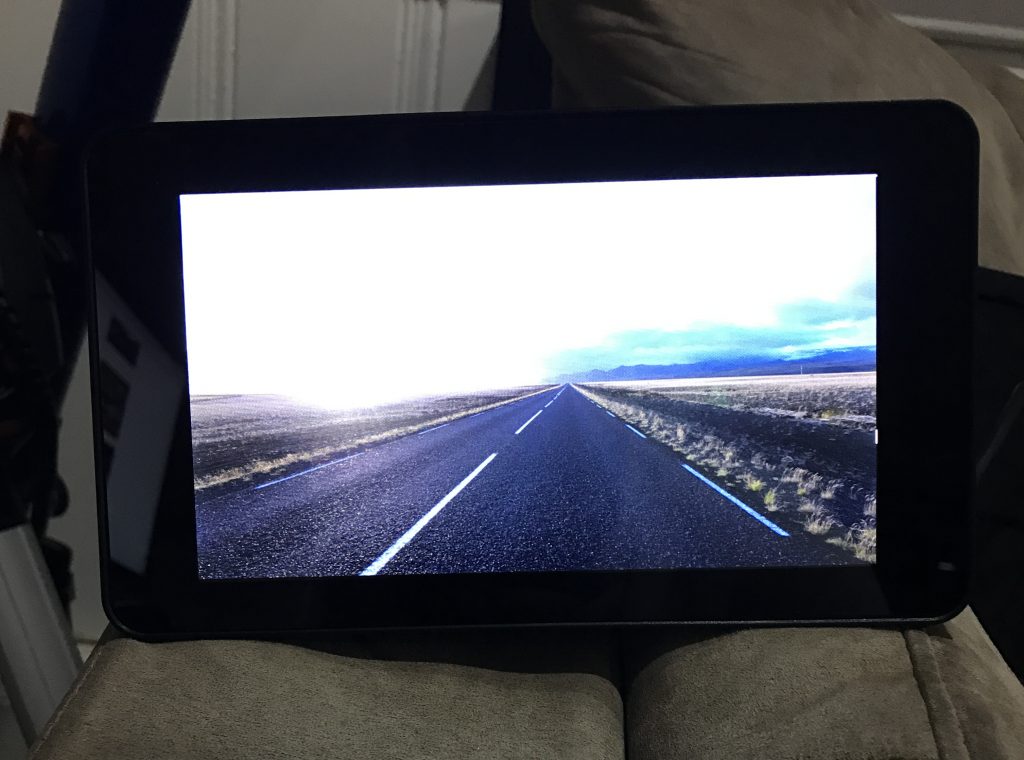
- Alright! We’ve got everything connected. Last thing to do is add the screen to the case and power it on. Here’s how mine looks:
The next step, I’m going to work on is writing some software so stay tuned!

I want full set.
How I can get.
I am from kolkata.
tnx a lot for HD pictures.
TNXXXXX