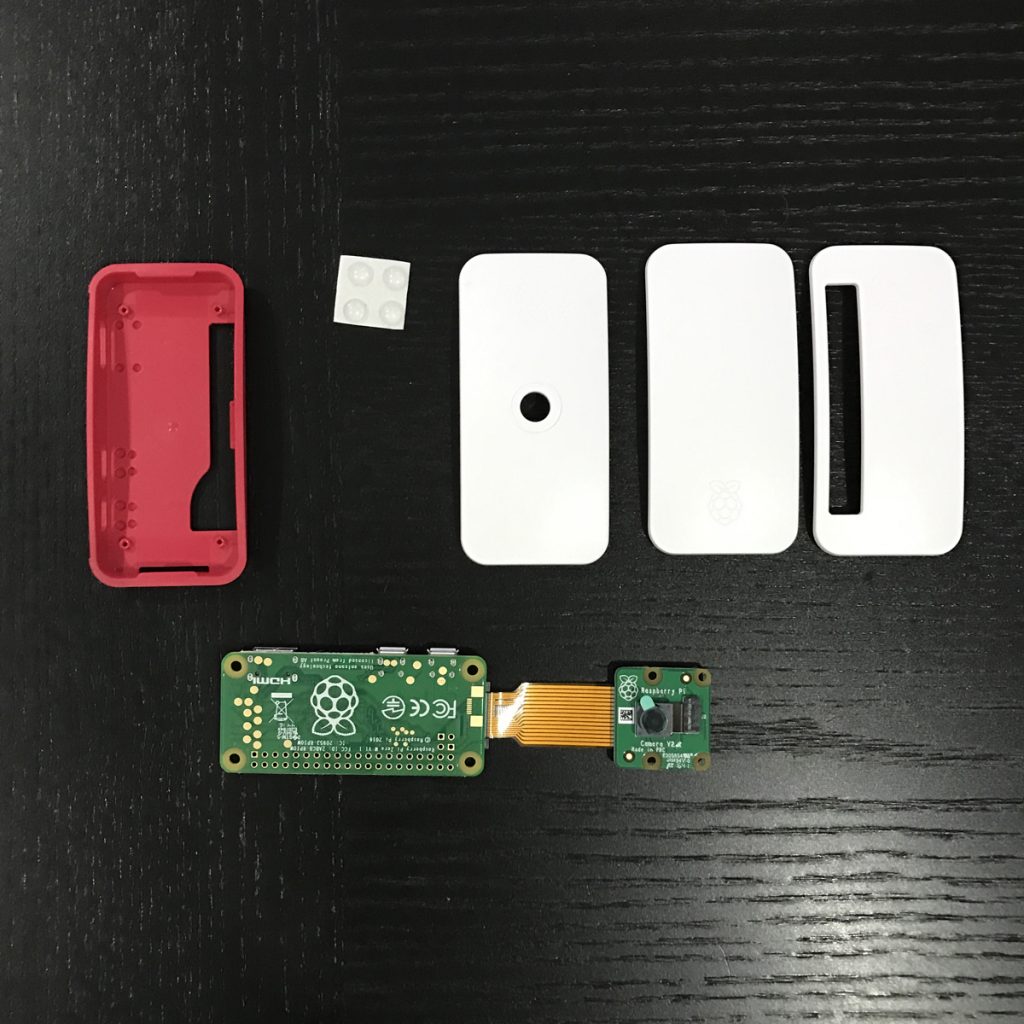
I received my Raspberry Pi Zero W a couple of weeks ago and finally had the chance to set it up. My goal is to to setup some cameras in my basement and garage.
Reading time: 3 min
I received my Raspberry Pi Zero W a couple of weeks ago and finally had the chance to set it up. My goal is to to setup some cameras in my basement and garage.
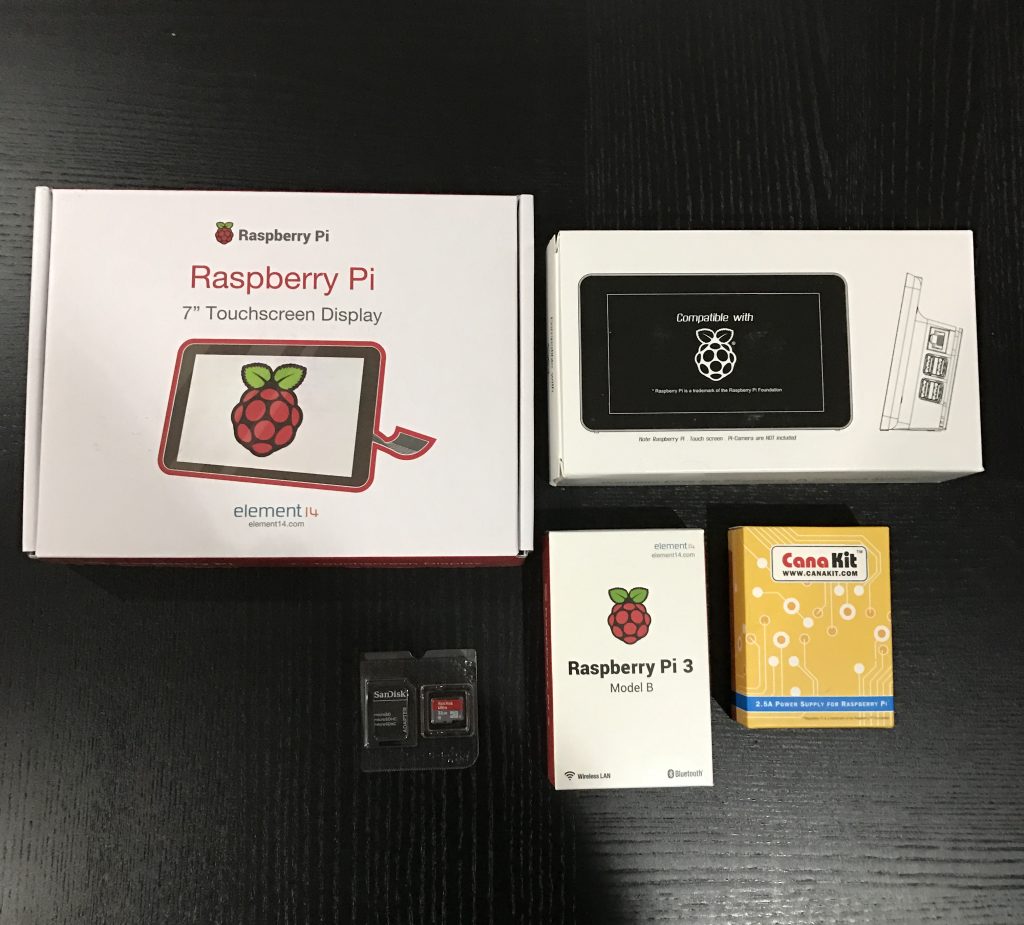
Today I received all the parts I need to begin setting up my own personal home dashboard. When I first began my career in programming, Home Automation was always something I’ve been very intrigued with; only it was very expensive and there weren’t many products out there to support it. Now, with the recent boom in IOT devices and products, its easier and far more cost effective to do this on your own.
Hello, my name is Richard Castera. I have more than 12 years of experience architecting, implementing, leading and launching large scale, high performance software products in a fast-paced agile environment.